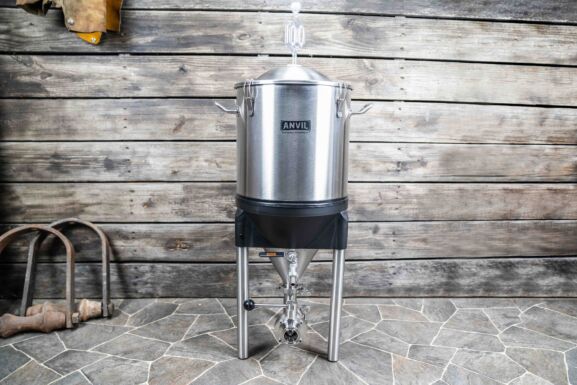
Crucible™ Conical Fermenter
Looking to ferment like the Pro’s? The new ANVIL Crucible™ Conical Fermenter is the hands-down best value in a stainless steel conical fermenter on the market. The rotating racking arm and large pro-style tri-clamp bottom dump will have you racking crystal clear beer and harvesting yeast like a pro! Let the Crucible™ be the showpiece of YOUR brewery!